Understanding Aperture and Depth of Field
One of the key factors in taking a good photograph is deciding how you would like to present the subject’s image to the naked eye.
One of the key factors in taking a good photograph is deciding how you would like to present the subject’s image to the naked eye. For example, is the background to remain out of focus? What message do you want to convey to the viewer?
In photographic terms, the sharper part of the image is known as the Depth of Field (DoF), which depends on three factors; the aperture, the distance between the nearest and the furthest subject, which can create a clear, sharp image and finally the focal length of the lens.
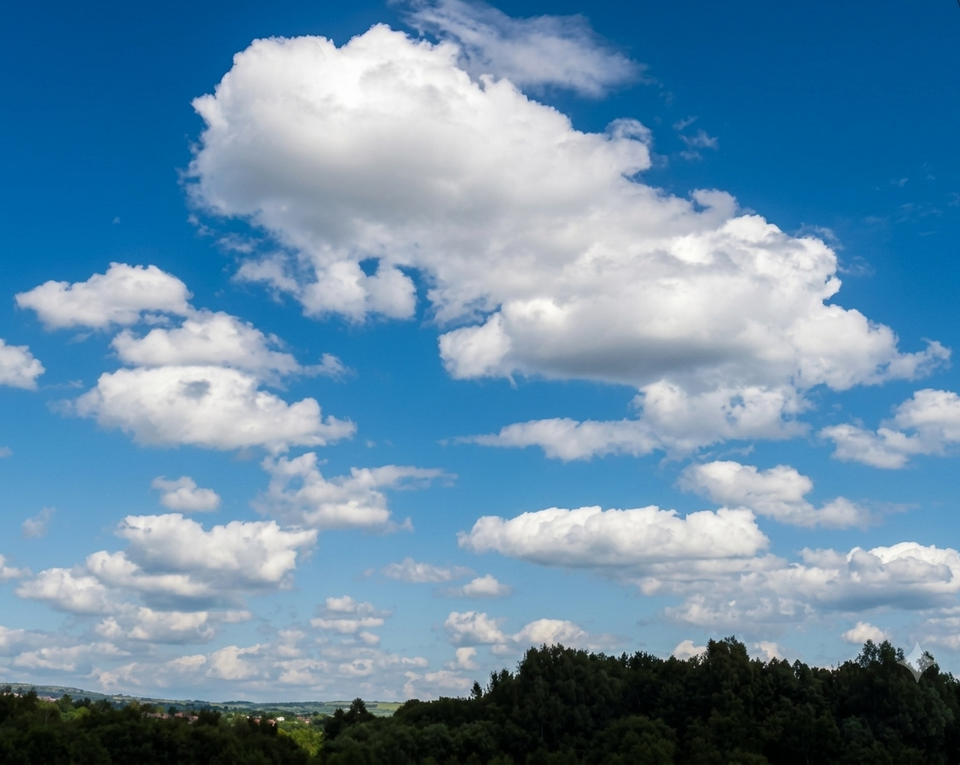
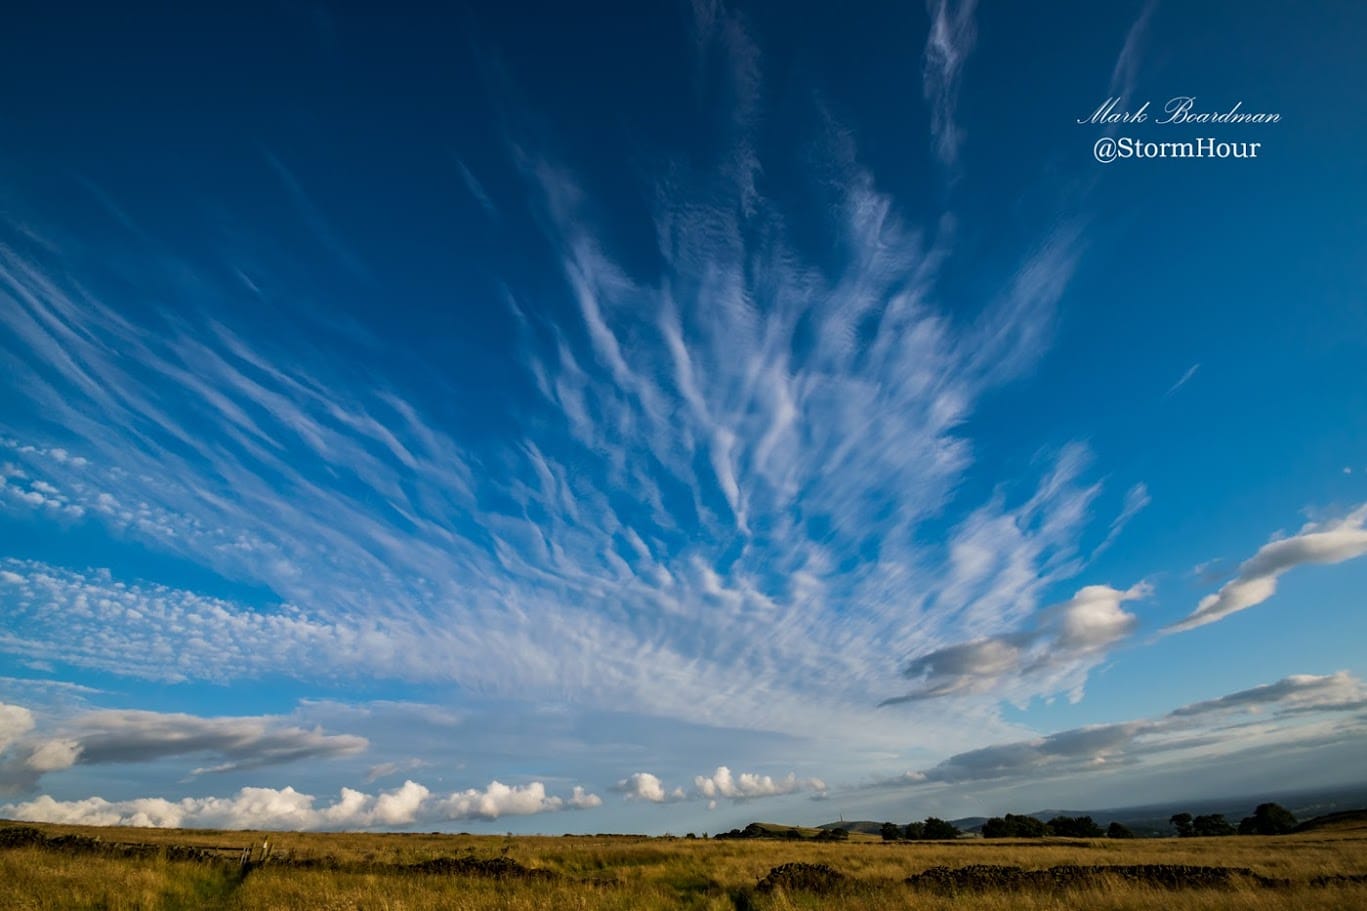
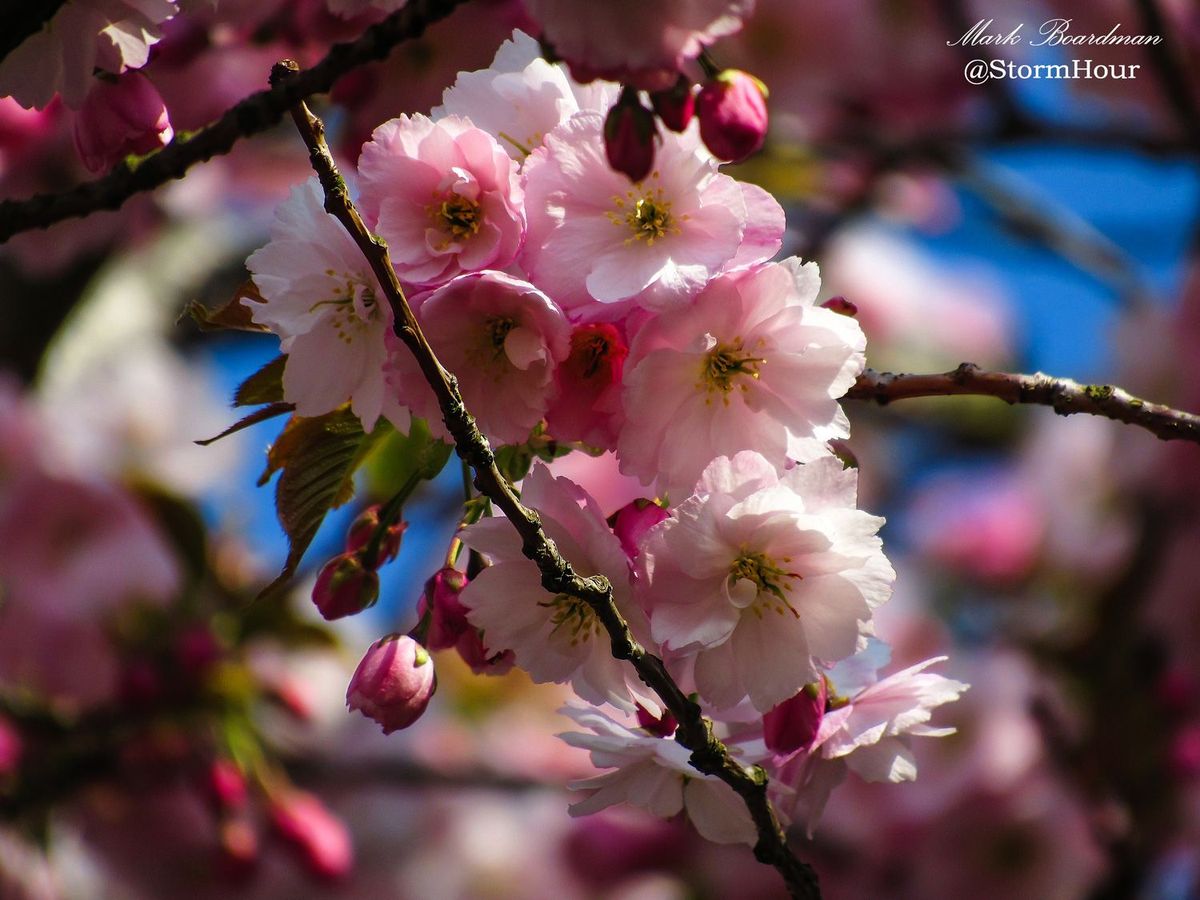
Should the photographer wish to take portraits, for example, a shallow DoF is necessary, whereby the result would involve blurring the background, and the main subject is sharp. Conversely, should the photographer want to take a broader image, a large DoF is required so that everything is in focus and the view can be projected clearly.
The APERTURE is a variable size hole inside your lens defined by ‘ f ’ numbers. The larger the ‘ f ‘ number (or ‘f-stop’), the smaller the hole and the greater the depth of field.
In layman's terms, a low ‘ f ‘ number has a shallow depth of field (smaller area in focus). A high ‘ f ‘ number has a large depth of field (a broader area in focus). Camera lenses vary in a range of ‘ f ‘ numbers between 1-40.
Large ‘ f ‘ numbers ( small aperture holes) result in slow shutter speeds to allow sufficient light through. Therefore, a tripod or steady surface is recommended to prevent any camera shake and blurring, ensuring a good photographic image.
Implementing DoF can, for example, give balance to photographs by blurring out distracting backgrounds or isolating the details you want in focus, enabling the viewer to be directed around the image.
‘Landscape mode’ tells the camera to select a large DoF, whereas ‘portrait mode’ tells it to use a smaller DoF.
The point of focus in your depth of field is approximately one-third in front of the focus point and two-thirds behind, rather than being equal at the front and back.
Should the photographer wish to take a landscape scene, it is suggested that focus is roughly one-third of the way into the shot to maximise DoF.
When looking through a viewfinder in a DSLR, the DoF won’t change the aperture. It isn’t until the shot is taken that the aperture is applied; it is, therefore, important to review the photos regularly to ensure you are correctly focusing with the correct DoF.
Many cameras have a depth of field preview button (refer to your user manual – on my Nikon D7100, it’s on the front right of the camera next to the lens). This button will let you see exactly what will appear in focus.
As an exercise, go outside and take two photos of the same subject. Use a large depth of field (high ‘ f ‘number) for one and a shallow depth (small ‘ f ‘ number) for the other. Compare the two photos; you will see that the larger ‘ f ‘ number has much more of the image in focus, whereas the small DoF will have blurred the background and kept your subject in focus. Experiment with different ‘ f stops ‘ and subjects, keep practising, and as you become more familiar with the various effects of aperture, your work will become more creative and targeted.